Publish
After editing resources in Cocos Studio, you need to publish them if you want to use them in Cocos 2d-x. In Cocos Studio, project files are stored in .xml format. After publishing, some unnecessary data will be removed from the project file.
and at the same time.xml file is transferred into FlatBuffers and JSON, which are faster and memory efficient.
To publish resources, do the following:
1 Open HelloCcocos, click the publish button  , and the resources are published.
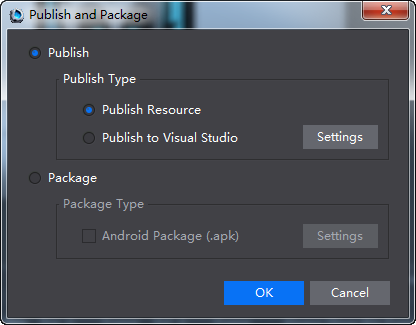
2 Click Publish and Package, a dialog box will pop up.


3 Publish resources
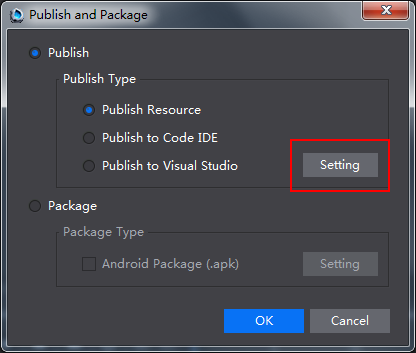
Publish to Visual Studio Project: only for Windows, first publish resources, then open project with Visual Studio.
Publish to Xcode Project: only for Mac, first publish resources, and then open project with Xcode.
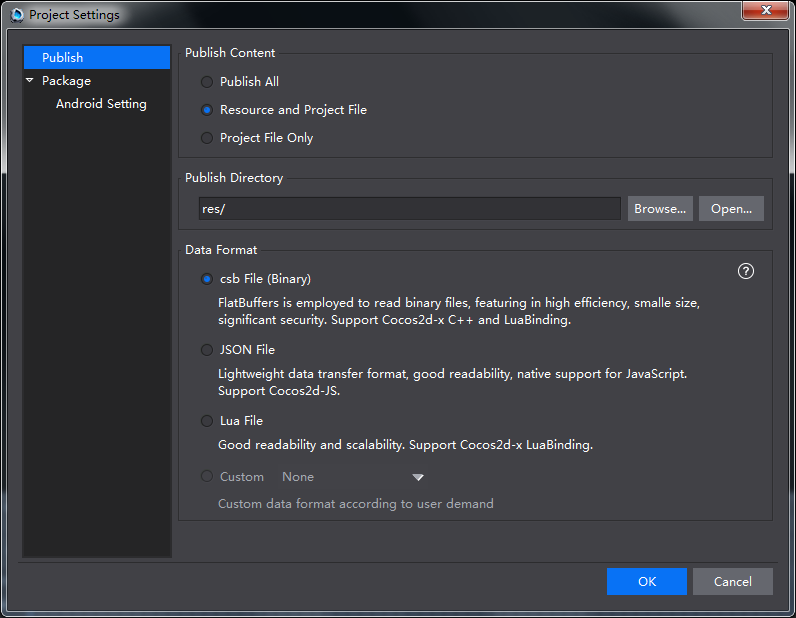
4 Select a Publish Type, and then click Setting, you can see the following window for project settings.


5 Publish
Resource and Project File: copy resources to publish directory; publish csd and csi for Cocos 2d-x.
*Note The transfer speed is low when publishing a number of resources. It is recommended to select “Project File Only”.*
Project File Only: only publish csd and csi for Cocos 2d-x.
Publish Directory: users can customize publish directory. Cocos Studio supports absolute and relative path.
Data Format
csb File: FlatBuffers is employed to read binary files, featuring in high efficiency, small size and significant security. Support Cocos2d-x C++ and Lua Binding.
JSON File: Lightweight data transfer format, good readability, native support for JavaScript. Support Cocos2d-JS.
Lua File:Good readability,support Lua Binding。
Custom export: Click Customizing Exported Data Formats for more information.
扫描二维码或在微信中搜索 KeepMovingXin